
Table of Contents
How Rigid Boxes Are Made: Production Steps and Where Defects Start
20. 11 月, 2026By Esion Package Editorial Team | Technical review: Esion Packaging Engineering Team | Last updated: November 20, 2026
Most rigid box problems that buyers notice at unboxing, such as a lid that sits too tight, a white line on a corner or a logo that is slightly off position, did not start at final assembly. They started several steps earlier, and they are far cheaper to fix at the sample stage than in a finished order.
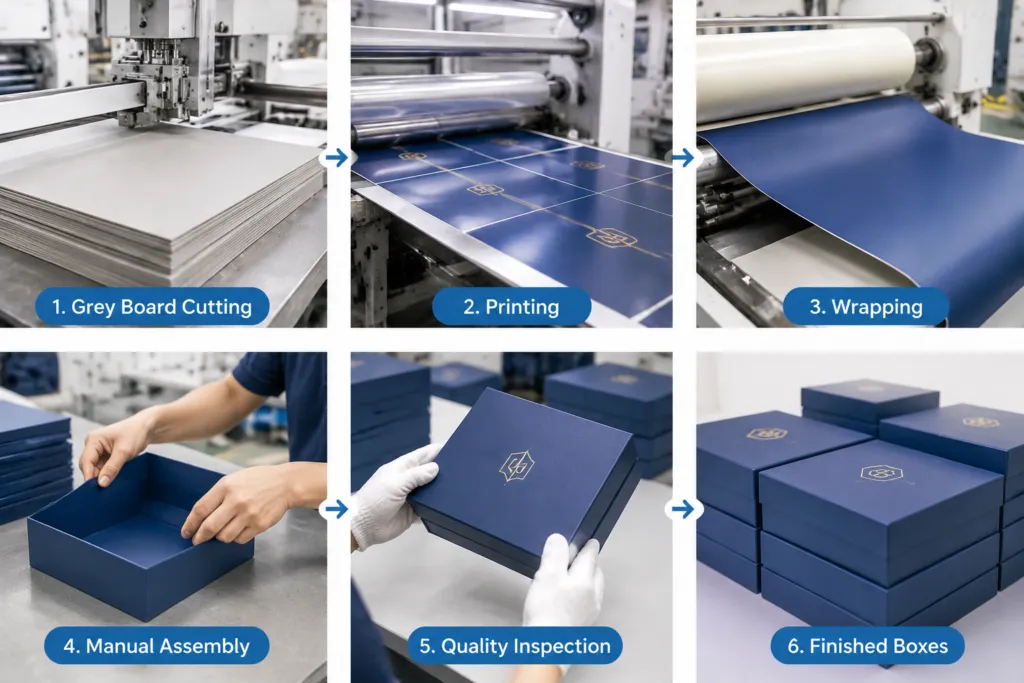
This guide follows a rigid box through production using the nine-stage sequence that Dongguan Esion Packaging Co., Ltd. publishes on its About page: raw material, paper cutting, printing, glue, laminating, die cutting, handmade assembly, QC inspection and packing. For each stage, it explains what happens, what typically goes wrong and what you can check on a sample.
If you are still comparing suppliers, start with our guide to choosing a custom rigid box manufacturer. This article is about the production itself.
How Is a Rigid Box Made?
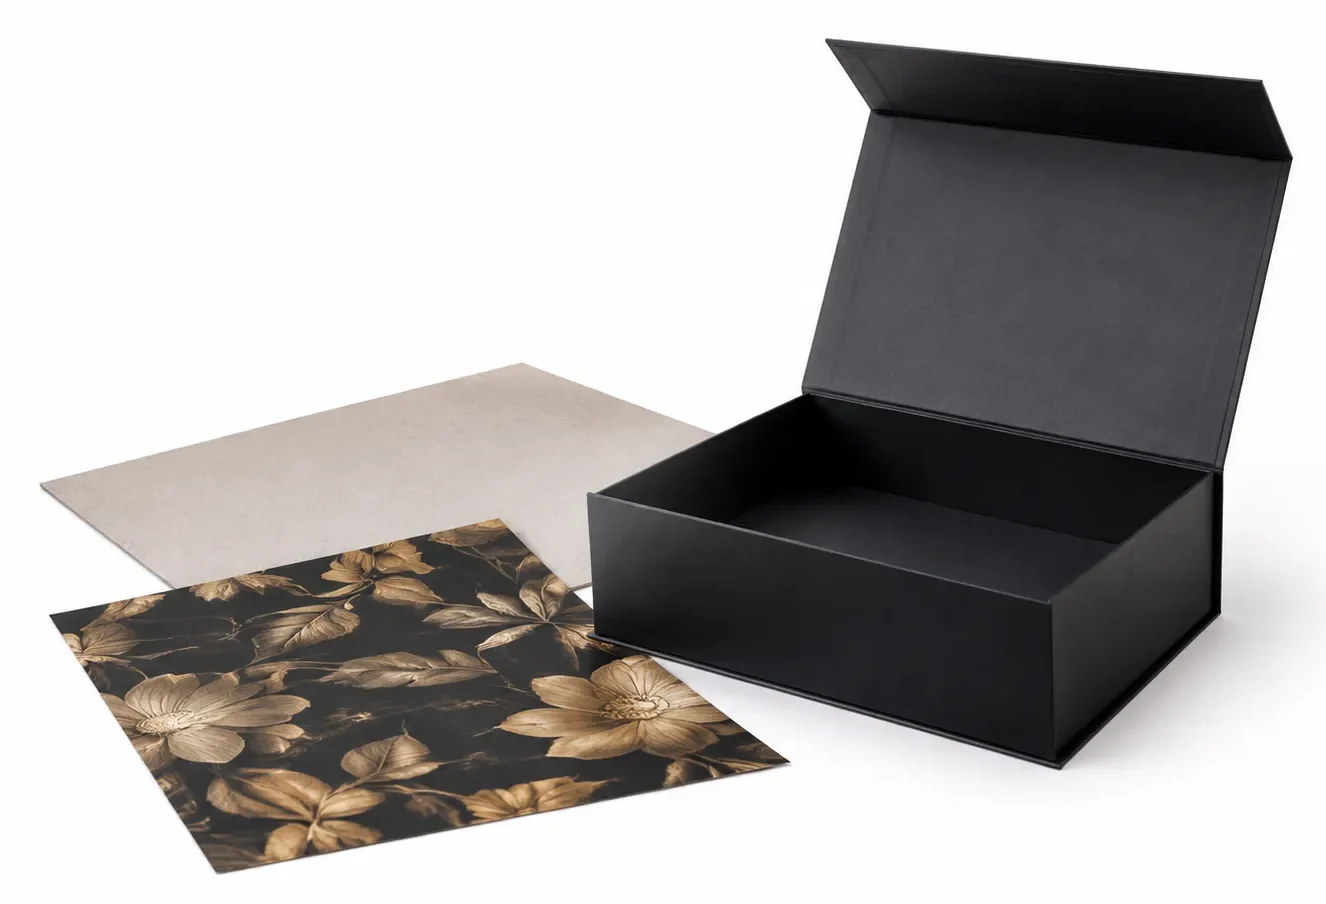
A rigid box is made by gluing printed and finished wrapping paper onto thick greyboard (chipboard) panels, folding the paper around the board edges and corners, and then fitting, inspecting and packing the box. Unlike a folding carton, which is cut and creased from a thin sheet, a rigid box is built from separate board pieces and keeps its shape once formed.
Collapsible rigid boxes are the exception: their board is grooved so the box can fold flat for storage and shipping. If that is your structure, see our collapsible rigid box guide.
The stages below follow the order in which the box is actually made.
Stages 1-2: Raw Material and Paper Cutting
Production starts with the greyboard that forms the structure and the paper that will wrap it.
Greyboard thickness for gift box structures commonly falls somewhere around 1.5 to 3 mm, but the right figure depends on box size, product weight and structure. Thicker is not automatically better: the board and the wrapping paper both add to the wall thickness, so a heavier board reduces usable internal space.
The board is then cut into panels. This is where lid fit is largely decided. A panel that is cut even slightly off will show up later as a tight lid, a loose lid or corners that do not meet. Grooved structures such as hinged, book-style and collapsible boxes need an additional grooving step so the board can fold cleanly.
What to check on the sample: measure the outside and inside dimensions against the approved drawing, and confirm the internal size with your actual product inside.
Stages 3-5: Printing, Glue and Laminating
The wrapping paper carries the design, so most of the visible quality is set here.
Printing: Esion’s About page lists Heidelberg printing equipment and a color adjustment process. Brand colors should be matched and approved on the actual paper, because the same artwork can look different on coated paper, textured paper or specialty paper.
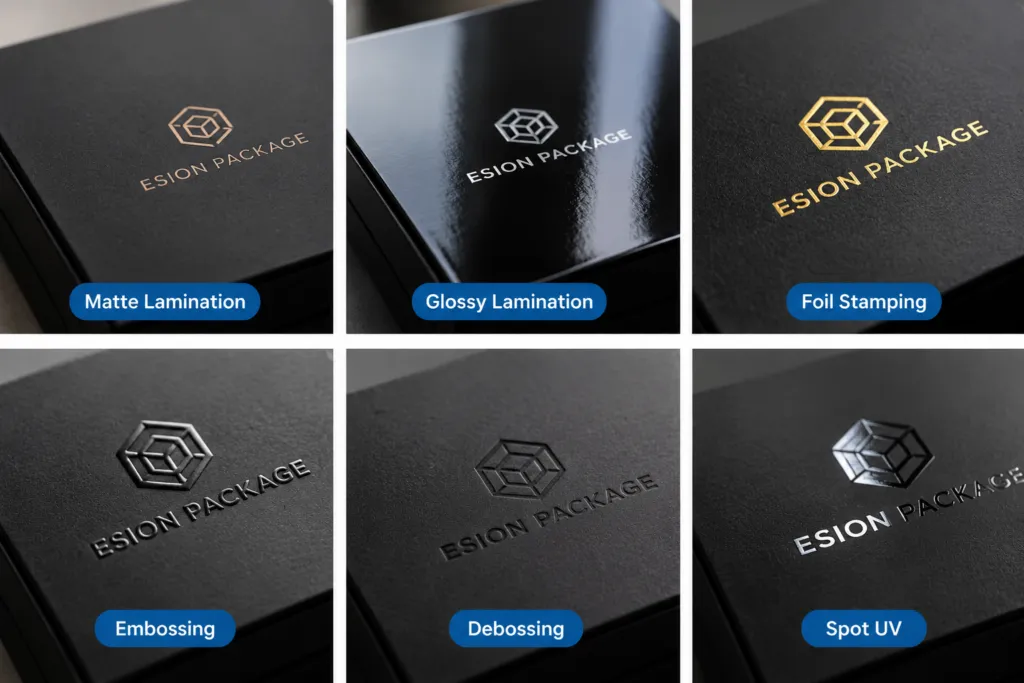
Laminating and finishing: depending on the design, the printed sheet may receive matte, gloss or soft-touch lamination, and then foil stamping, embossing, debossing or spot UV. These finishes are planned together. A gold foil logo that sits too close to a folded edge, for example, can crack or rub when the paper is wrapped around the board.
What to check on the sample: view the color in daylight next to your reference, press and lightly rub the foil and soft-touch areas, and check that finishing sits clear of fold lines. For logo placement specifically, see our logo placement and print method guide.
Stage 6: Die Cutting
The finished sheets are die cut to the paper size and corner shape required for the structure. Paper cut too large leaves bulky, loose corners; paper cut too small exposes the board edge. Inserts are also cut at this stage when they are die cut rather than formed.
What to check on the sample: look at every corner from the outside and inside, and run a finger along the edges for exposed board or uneven overlap.
Stage 7: Handmade Assembly
Wrapping and forming are where a rigid box gets its shape. Glue is applied, the board panels are positioned on the paper, corners are folded and edges are turned in. The lid and base are formed, the interior is lined, and components such as magnets, ribbons and inserts are fitted.
This stage stays largely manual because corner folding, paper tension and alignment are judgment-based. It is also the stage where wrinkles, glue marks, air bubbles and uneven corners usually appear, which is why the sample should be made on the same process that will be used for the order.
What to check on the sample: press the surface with your thumb for bubbles, look at the corners from three angles, and confirm that inserts and magnets sit where the drawing says. For magnetic structures, our guide to testing a magnetic gift box before bulk production covers closing strength and alignment.
Stages 8-9: QC Inspection and Packing
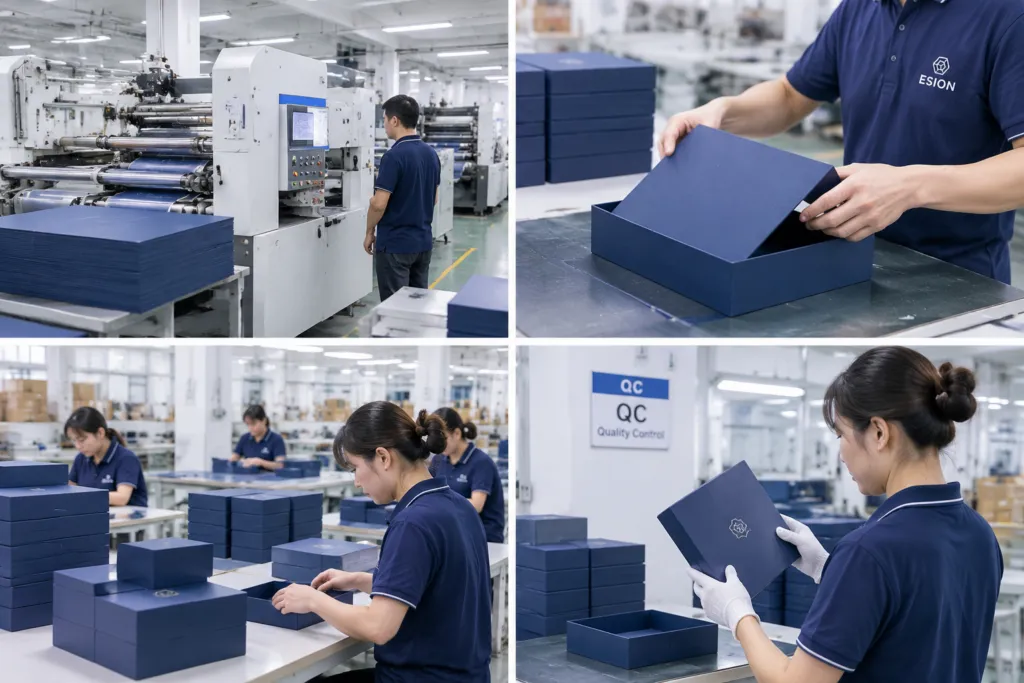
Finished boxes are inspected against the approved sample and specifications. Typical points include dimensions, color, logo and foil position, corner wrapping, surface condition, opening and closing performance, and component fit.
Packing is part of quality, not an afterthought. Rigid boxes can scuff, dent or crush in transit, so ask how boxes are separated and protected inside the export carton.
Esion’s Quality page lists the company’s quality management and certifications. If your order depends on a specific certificate, ask for the document that applies to your order.
Where Do Rigid Box Defects Start?
Most visible defects trace back to a specific stage. Knowing which one tells you what to inspect on the sample.
| What you see | Where it usually starts | What to check on the sample |
|---|---|---|
| Lid too tight or too loose | Panel cutting accuracy, plus the thickness added by board and paper | Open and close the lid repeatedly with the product inside |
| White lines or cracks at corners or folds | Paper and finish folded too tightly, finishing too close to the edge | Corners from several angles; finishing position relative to folds |
| Bubbles or wrinkles on the surface | Glue application and pressure during wrapping | Press the surface with your thumb; check large flat panels |
| Color differs from your reference | Printing, paper type, lamination | Compare with the approved reference in daylight |
| Foil off-position or rubbing off | Artwork positioning, foil coverage, surface texture | Foil placement against edges; light rub test |
| Exposed board edges or bulky corners | Paper cut size and wrap tension | Run a finger along edges; inspect interior corners |
| Magnet misaligned or weak | Magnet position and assembly | Closing alignment and hold strength with product inside |
How Does Box Structure Change the Process?
The nine stages stay the same, but structure changes what is cut, grooved and assembled.
| Structure | What changes in production | Guide |
|---|---|---|
| Two-piece lid and base | Separate lid and base; lid fit depends on both panels | Two-piece rigid setup box |
| Magnetic closure | Magnets fitted and aligned during assembly | Magnetic gift box guide |
| Hinged lid | Connected lid; hinge construction and alignment | Custom hinged gift box |
| Drawer box | Sleeve and tray must slide smoothly | Drawer box packaging |
| Collapsible | Grooved board that folds flat | Collapsible rigid box |
If the box needs a fitted insert, the insert is developed with the box. Our guide to foam inserts explains EVA and sponge options and how to check cavity fit.
Production Reference: As of November 2026
| Item | Esion Package reference |
|---|---|
| MOQ | 1,000 pieces |
| Sample | About 3 working days after specifications and artwork are confirmed (standard structures) |
| Mass production | About 15 days after sample approval |
These are reference figures. Complex structures, special materials and heavy finishing can add time, so confirm the schedule against your specification. Lunar New Year falls on February 6, 2027, so if your order is due around that period, confirm factory shutdown dates before you finalize the timeline.
For pricing and quote comparison, see our wholesale gift boxes guide. For the sampling process step by step, see custom packaging sample to mass production.
How Esion Package Handles Production
Esion’s About page states that Dongguan Esion Packaging Co., Ltd. was established in 2011, has passed FSC certification, and produces gift boxes, jewelry boxes, cosmetic boxes and paper bags. The same page lists the nine-stage production sequence used in this article.
For a rigid box project, the practical value is that the specification you approve at the sample stage carries into printing, assembly and inspection. To see how structure, materials and finishes fit together for premium packaging, read our Luxury Rigid Boxes guide.
Frequently Asked Questions About How Rigid Boxes Are Made
Are rigid boxes made by hand or by machine?
Both. Cutting, printing, laminating and die cutting are machine processes. Wrapping, forming and fitting are largely done by hand because corner folding and alignment need judgment. Esion’s published process lists handmade assembly as its own stage.
What greyboard thickness should a rigid box use?
For most gift box structures it commonly falls somewhere around 1.5 to 3 mm, but the right choice depends on box size, product weight and structure. Remember that board and paper thickness reduce internal space, so confirm the internal dimensions on a sample.
Why do some rigid boxes have cracked or white corners?
Usually because the paper or finish was folded tightly over a corner or fold line, or because finishing such as foil or lamination sits too close to the edge. It is best caught on the sample. Our guide to cracking and wrinkling on collapsible rigid boxes covers fold-line causes in more detail.
Why can bulk boxes look different from the approved sample?
Differences usually come from color, paper, glue or assembly variation, or from specifications that changed after approval. Keeping the approved sample as the physical reference, and agreeing the inspection points before production, helps keep the batch consistent.
How long does it take to make rigid boxes?
As a reference as of November 2026, Esion’s standard sample takes about 3 working days and mass production about 15 days after sample approval. Confirm the schedule for your own specification before ordering.
Start Your Rigid Box Project
Send Esion Package your product dimensions, artwork or reference images, estimated quantity and target delivery date. Our team can review the structure, board and finishing before sampling. Contact Esion Package or browse our Rigid Gift Boxes collection.